In this blog, I will give a walkthrough how to setup local XM cloud development environment.
- Prerequisites
- Prepare Local Environment to run containers
- Set up the XM cloud development solution
- Configure Item serialization to synchronize items between environments
- Authorize the local project in your XM Cloud organization
- Configure the editing host
- Setting up Next js App and connecting with XM cloud
Prerequisites:
- A valid Sitecore license file
- Windows PowerShell 5.1. (PowerShell 7 is not supported at this time)
- The current long-term support (LTS) version of Node.js
- .NET Core 6.0 SDK
- .NET Framework 4.8 SDK
- Visual Studio 2022
- Docker for Windows, with Windows Containers enabled(Make sure you have all components for running containers/docker)
Prepare Local Environment to run containers:
Open Powershell in admin mode.
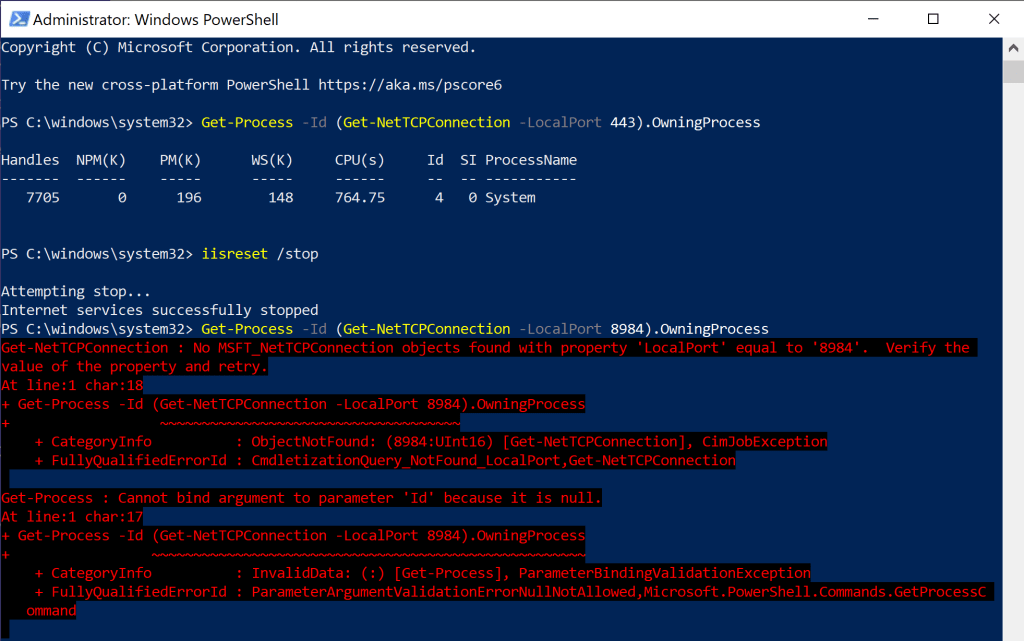
Make sure that Internet Information not running at port 443:
Get-Process -Id (Get-NetTCPConnection -LocalPort 443).OwningProcessIf you found any, stop IIS:
iisreset /stopCheck if you have Apache Solr or any other service running on port 8984:
Get-Process -Id (Get-NetTCPConnection -LocalPort 8984).OwningProcessIf yes, stop it:
Stop-Service -Name "<the name of your service>"or
nssm stop "<the name of your service>"
Set up the XM cloud development solution
The starter template has scripts for following:
Clone the repository you configured for the XM Cloud project and open powershell in admin mode in same folder and run below commands:
Prepare the Sitecore Container environment:
.\init.ps1 -InitEnv -LicenseXmlPath "<C:\path\to\license.xml>" -AdminPassword "<desired password>"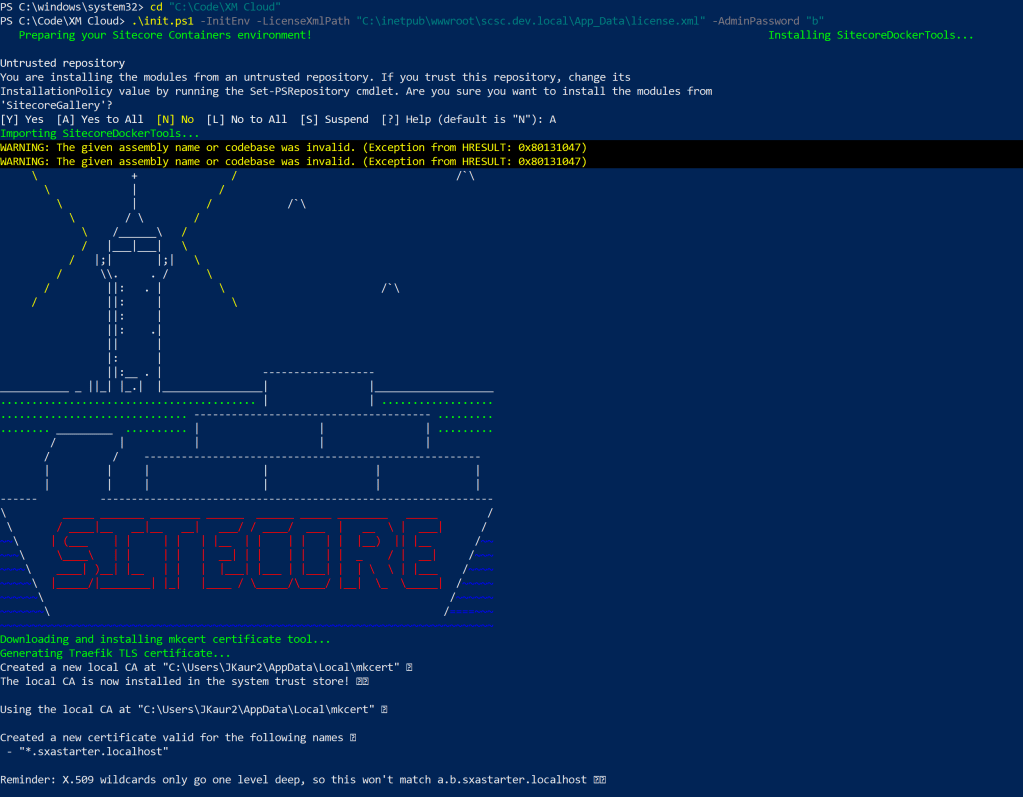
Restart terminal or VS code after this as instructed.
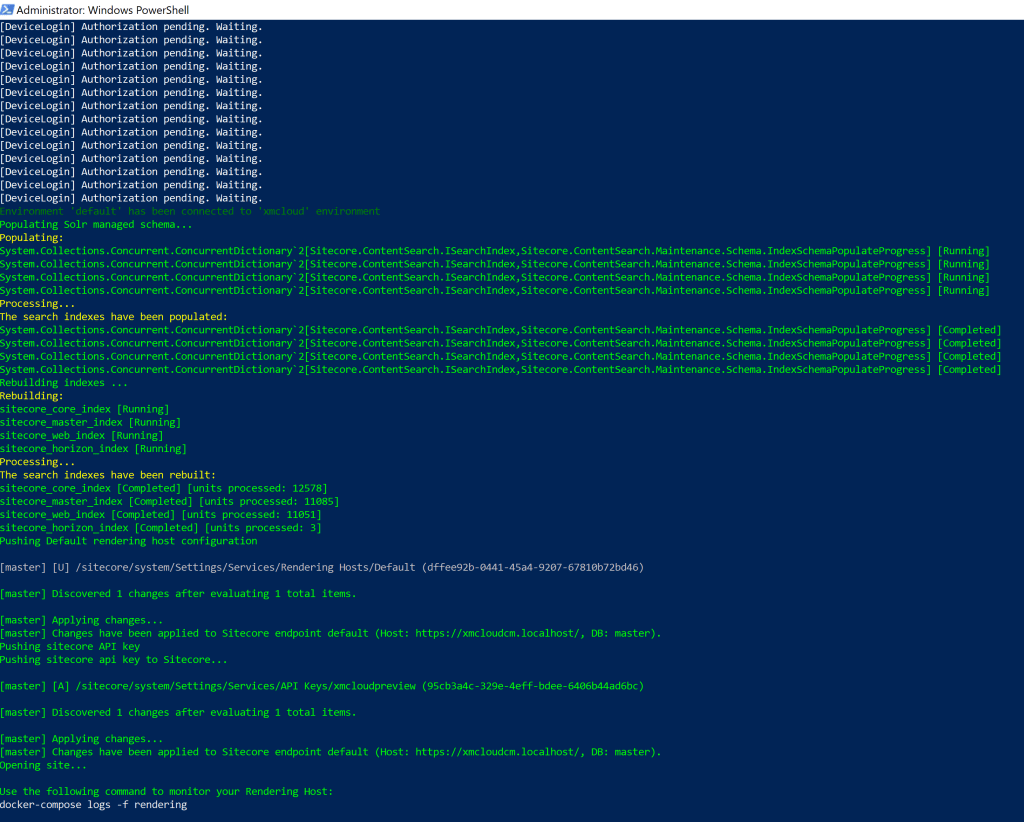
Now, run up.ps1 to download the Sitecore Docker images, install and configure the containers and client application
.\up.ps1Do as instructed in your browser while running this script, log in to the Sitecore XM instance and accept the device authorization.
Following screenshot has the images created:
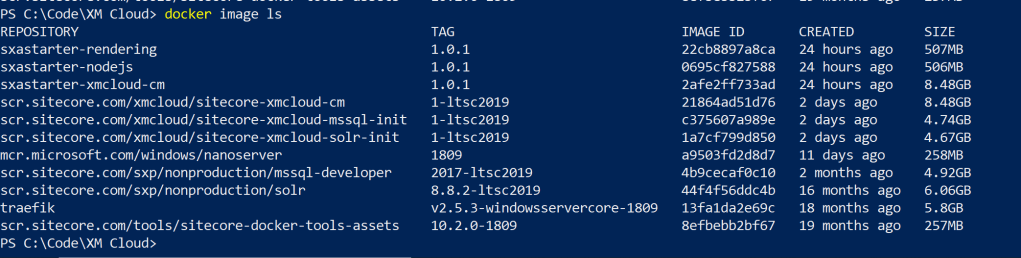
The starter XM cloud template is just empty instance
Configure Item serialization to synchronize items between environments
Create a serialization json file under /src for syncing templates, renderings, content items, media items etc. Follow the below syntax:
{
  "name": "<name of type of data>",
  "path": "<sitecore item path>",
  "allowedPushOperations": "CreateUpdateAndDelete"
}
I created a Headless site and configured content tree, media, templates in *.module.json file for serialization. For more information. Check out CLI configurations.
For next steps, check the links given in the beginning of the blog.
Happy Learning, Good Luck!

Leave a comment