In XM Cloud Pages Personalize, you have the ability to tailor web page content to specific audiences and enhance their digital experiences.
Lets dive deep into how to implement personalization in XM Cloud:
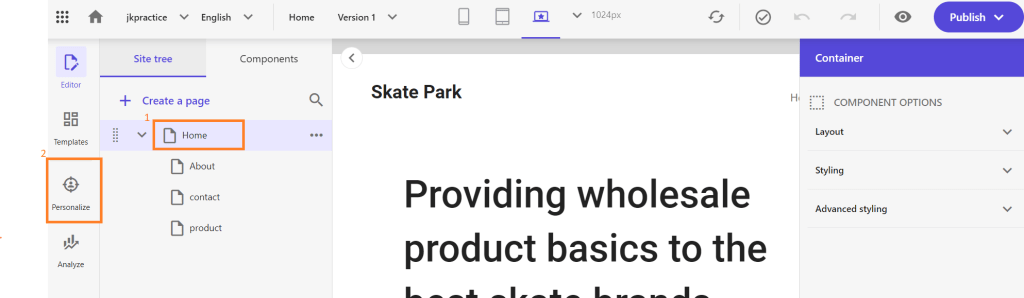
- Open your site in XM Cloud Pages, select the page where you want to implement personalization and then click Personalize present in left pane.
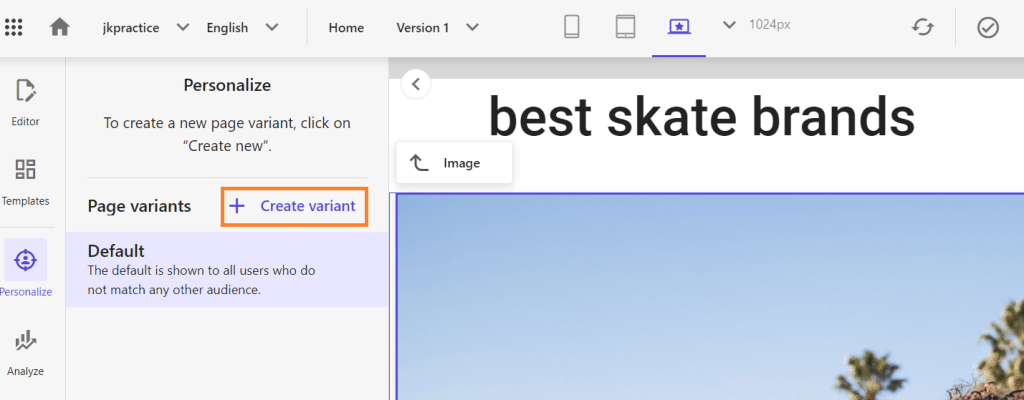
2. In personalize, select the component from the page and create the variant. There will a default variant present already for components that will be visible to all users. We have to create a new variant that will be visible after certain conditions are met.
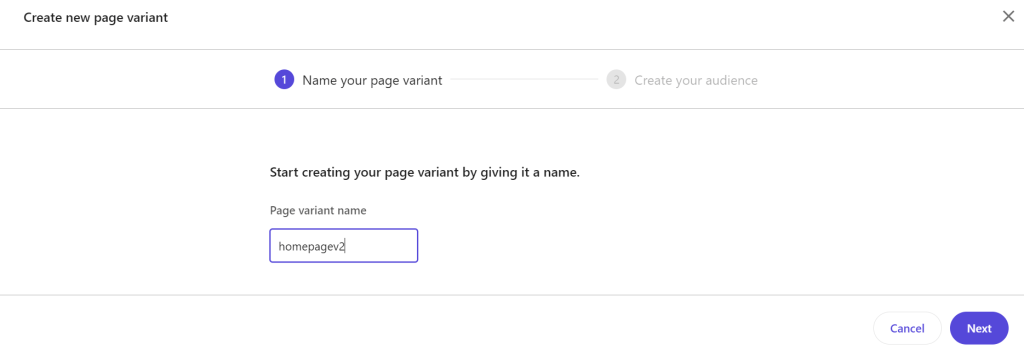
3. Give a name to new variant and the create audience.
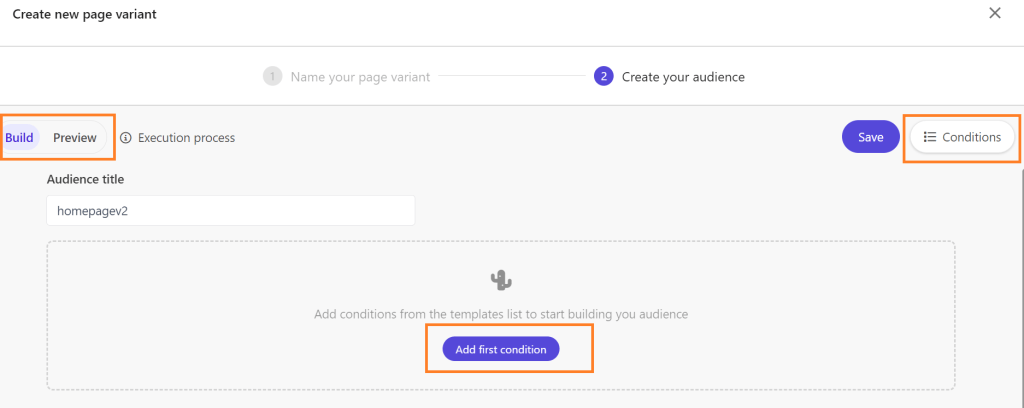
For creating audience, create conditions and rules from right hand side. There is preview option on left side to get a better understanding of how the audience will be constructed in the Audience builder.
Pre-existing conditions in XM cloud falls under these categories:
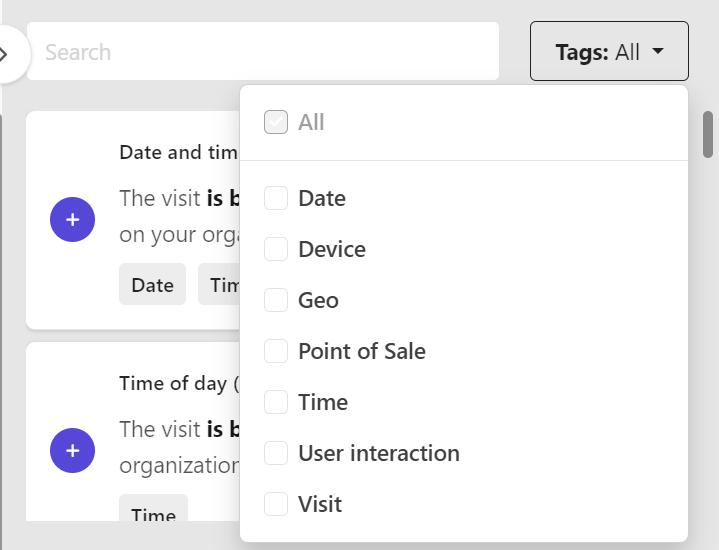
- Time-based Template:
- Use this template to show or hide content based on specific time intervals (e.g., daily, weekly, monthly).
- Example: Display a special offer banner only on weekends.
- Device Template:
- Specify content visibility based on the user’s device or operating system.
- Example: Show an Android app download link only to Android users.
- Geolocation Template:
- Control content display based on the visitor’s geographic location (country, region, etc.).
- Example: Offer a location-specific discount to visitors in Spain.
- Page Views Template:
- Define content visibility based on the pages viewed by visitors and their interaction history.
- Example: Show a promotion if a visitor has viewed a product page multiple times recently.
- User Interactions Template:
- Customize content based on referrer values or UTM parameters (campaign, medium, source).
- Example: Display premium content to sessions with a newsletter campaign referral.
- Point of Sale Template:
- This is a site identifier that is added to each of your organization’s websites to track useful analytics on how your audiences engage with your site pages.
- Use this template to track analytics for specific websites or language versions.
- Example: Show content specific to a particular website within your organization.
XM Cloud personalization is delivered with a set of pre-defined conditions that runs on the last 30 days of data.
There is a limit of up to eight variants that can be created for a default page.
Additionally, each variation can only have a maximum of five conditions per audience.
4. For this blog, I am adding the condition for page visits as below. It will show this variant if user come from about page.
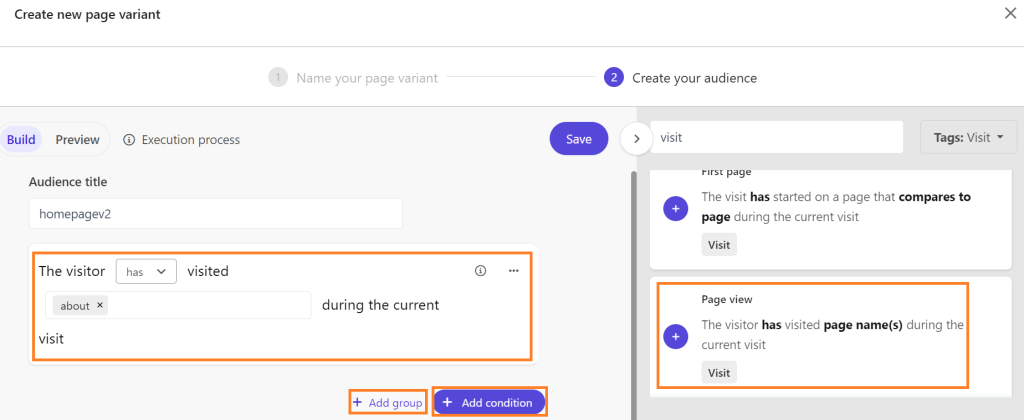
We can add more condition with AND/OR and create group of conditions. By grouping conditions, you can create more complex and specific audience segments that can help you deliver more targeted and personalized content. Save the changes.
Order of the execution is decided in the following manner:
- When a visitor meets certain conditions, they are placed in a specific audience and shown personalized content.
- The audience is checked again with each page visit. If conditions change, the visitor might be moved to a different audience.
- Conditions are evaluated in this order: first within groups, then with AND operators, and lastly with OR operators.
There are some conditions which are not compatible with Edge. Check here for details.
The Edge compatibility column identifies the conditions that can be executed at the edge. This edge capability reduces latency and bandwidth usage by processing data closer to its source using local servers, rather than relying on centralized cloud servers. This enables you to deliver precise, location-based personalized content from the moment a user first interacts with your site.
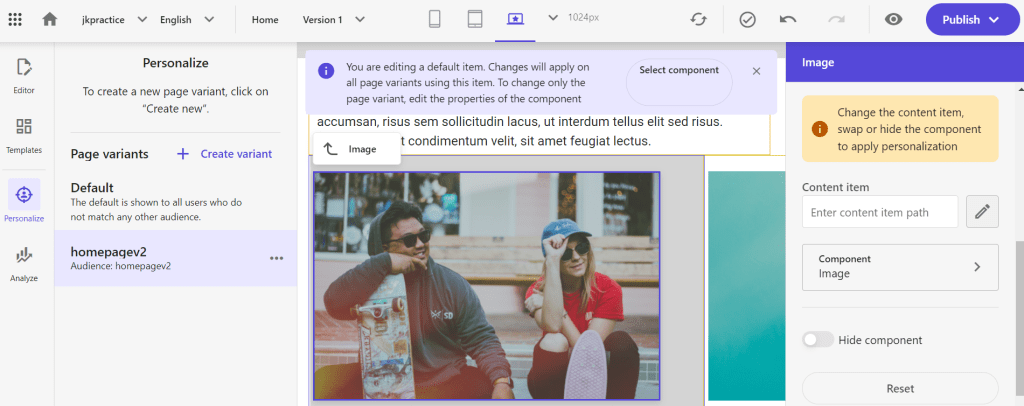
5. Once the variant is created, you can choose the action depending upon requirement, action can be
- Assign a different content item to a component.
- Replace a component with another one that is compatible.
- Hide a component for a specific audience.
- Revert back to the original default content.
Make sure while making these changes,
- Variant is selected
- Required component is selected
6. That’s it, Publish and test.

Leave a comment