In this Blog, I will give you a walkthrough of how to create component in Optimizely Saas and then what will be the steps in Nextjs app. For this walkthrough purpose, I will be taking example of component with Title and description and name it InfoBlock.
Let’s start:
Create Content Type in Optimizely Saas:
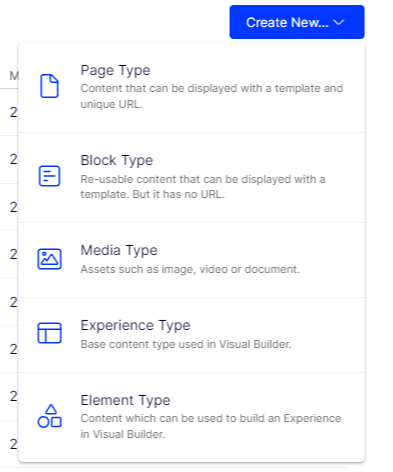
Go to Settings – > Content Types
You can select content type based of your requirement. As you can see in above image, there is a little help note given for each content type under their name. If you want to build in visual builder, then Experience type is base content type and then use Element type on top of that.
If you already worked with Sitecore, then you can think of it as a template where we define fields, field sections, etc.
For this example, I choose block option. Let’s move forward to create it:
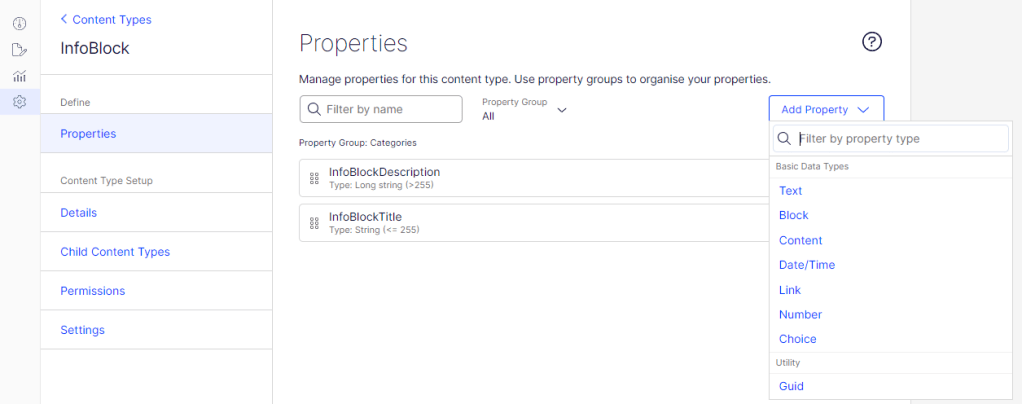
Add the property as per requirement. For Title and description, I have selected Text. For more information on property type, please refer this.
Once the content type is created, Let’s move to Nextjs part and map to it.
Building component in Nextjs and mapping:
In your Nextjs app, generate schema for newly created content types in Optimizely CMS by running following command in your terminal:
yarn graphql-codegen
You can refer package.json for commands. This will generate schema in files under src/gql
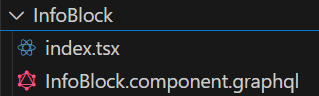
Now, let’s start developing the component, Go to src/components/cms/component and create a folder with the same name as given in Optimizely CMS and create two files under it index.tsx and GraphQL
Let’s start with GraphQL and fetch the fields from InfoBlock Content Type that we created in Optimizely. Be careful that the names here should same as we have in Optimizely CMS.
fragment InfoBlockData on InfoBlock {
  title: InfoBlockTitle
  descrip: InfoBlockDescription
}
Next step is setting HTML and fetching fields to display in frontend. Let’s start with index.tsx
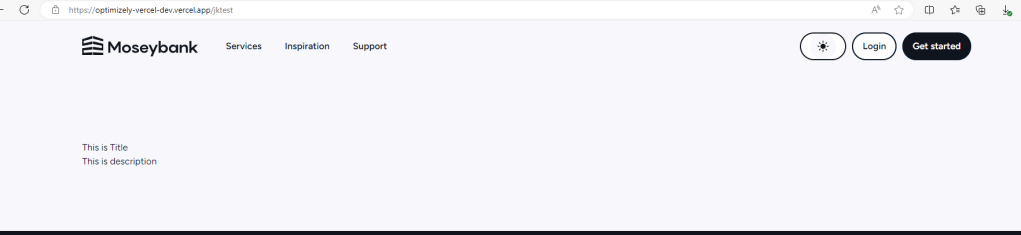
Deploy to Vercel and verify by adding Infoblock to any page.
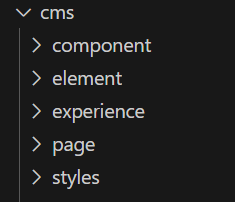
Similarly, for experience, element, and page Content Types, we have separate folders (refer below screenshot). You can create in respective folder based on the requirement and follow the similar procedure.

Leave a comment