Connect with XM cloud preview:
Say, you have a Sitecore next js app, following the following steps:
- Make a copy of .env file and rename new file to .env.local. Add the following settings from XM cloud deploy(Developer setting from respective environment ) to file
- GRAPH_QL_ENDPOINT
- SITECORE_API_KEY
- PUBLIC_URL for styles and scripts to load (value: http://localhost:3001)
- JSS_APP_NAME
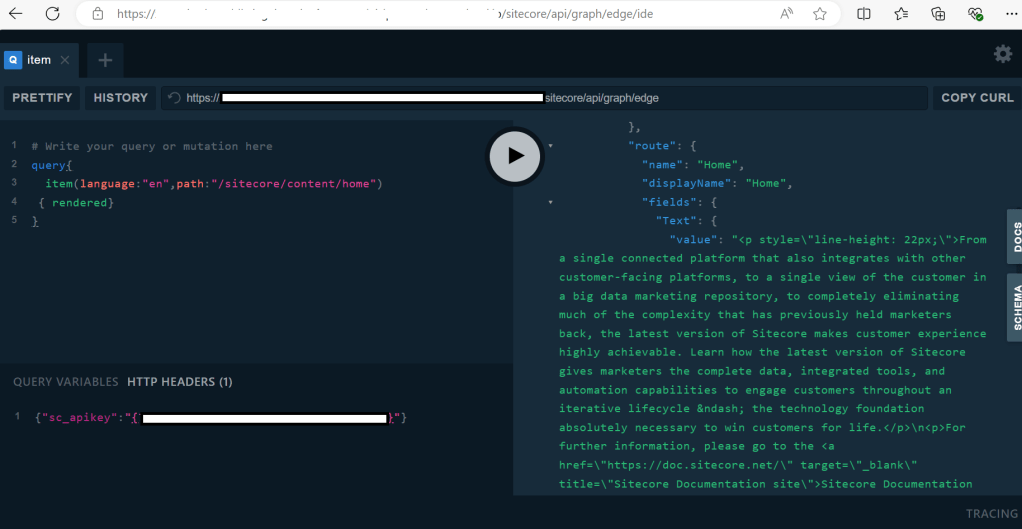
- Check GraphQL endpoint and query.
https://CM-Host/sitecore/api/graph/edge
No need for adding js secret for adding preview.
3. Run npm run build. Resolve the issues if any.
4. Run npm run start:connected
Connect with local XM cloud instance on docker:
- Open the repo in vscode and navigate to /src/<app-name>
- Run
npm i - Run
jss setupto connect the app with local XM instance - Make a copy of .env file and rename new file to .env.local. Add the following settings from XM cloud to file
- GRAPH_QL_ENDPOINT
- SITECORE_API_KEY
- PUBLIC_URL for styles and scripts to load (value: http://localhost:3001)
- JSS_APP_NAME
- JSS_EDITING_SECRET
- Run
npm run build. Resolve the issues if any. - Run
npm run start:connected
Happy Learning, Good Luck!

Leave a comment